How To Fit Architraves
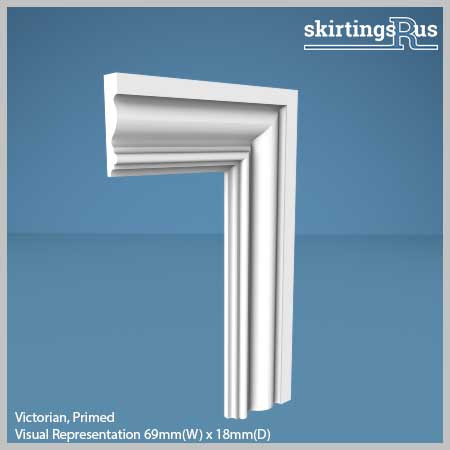
Architrave door sets will allow you more length for cutting mitre joints than a 4.2m length would, when cut in half.
- First decide upon the spacing you require between the edge of the door frame and the inner edge of the architrave, then mark out the spacing around the door frame paying attention to ensure that the lines intersect accurately at the point where the architrave leg meets the architrave head.
- Take one leg of architrave and place it on the line you have marked up the side of the door frame. Mark the point at which it intersects with the head
- Set out the mitre joint by marking with a pencil, a line at 45°, running from the outer edge and down the leg towards the inner edge.
- Cut this the leg at this line using a chop saw or with a hand saw and mitre block.
- Follow this procedure for the second leg but remember that this must be the opposite hand to the first leg.
- Take an architrave head and mark out a mitre on one end, again from the outside edge, down the length towards the inner edge and cut the mitre on this end of the architrave head.
- Offer the head up to the top of the door frame and carefully position the cut end of the head on the intersect marks one side of the door frame and mark where the opposite end will intersect the opposite leg.
- Cut the mitre on this end of the head (this will need to be right first time). You should now have all 3 pieces of your door set cut.
- Using a two-pack adhesive (something like Mitre Mate) Carefully assemble the door set and then fix it to the door frame with a grab adhesive and appropriate pins

